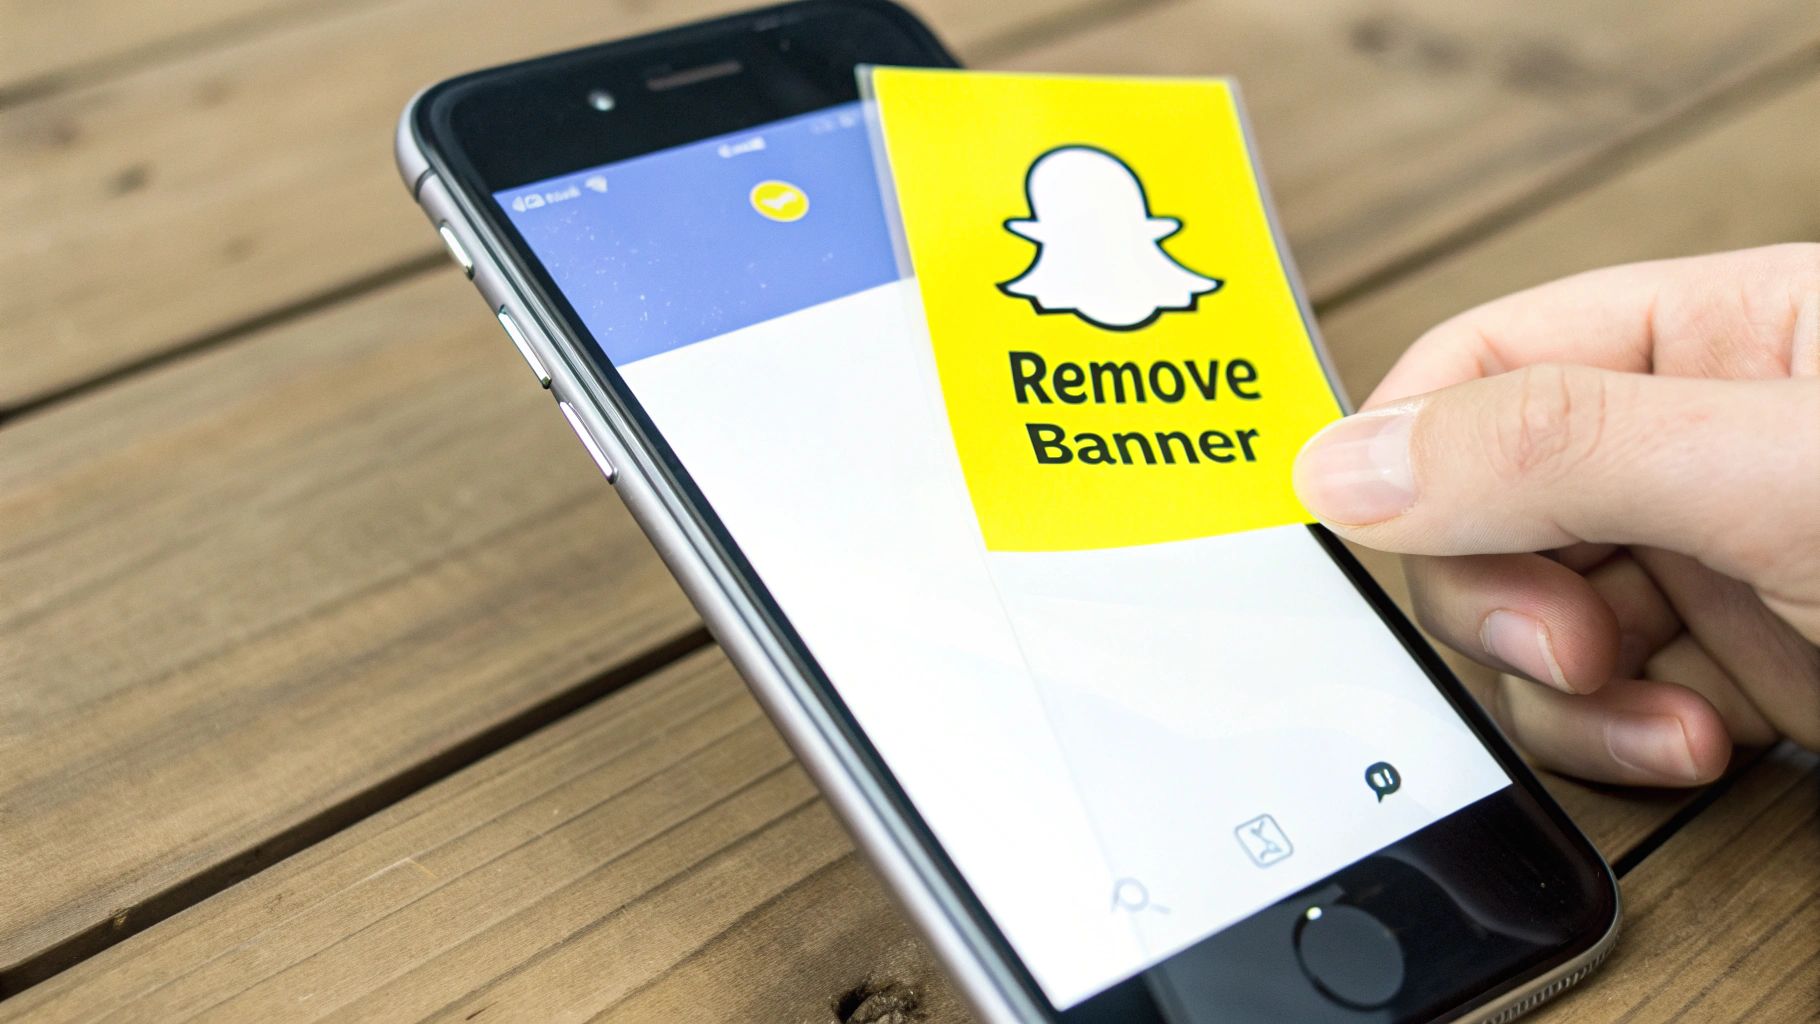
Snapchat Banner Removal: Easy Tips to Clean Your Snaps
We've all been there. You snap the perfect photo on Snapchat, but that dark text banner lands right over the most important part of the picture. It's a classic problem, but thankfully, getting rid of that banner is easier than you think with the right tool.
SnapCaptionRemover is an AI tool built for one specific job: to cleanly erase those annoying banners and restore your photo, no complex editing skills required.
Why Bother Removing the Banner?
Honestly, a distracting banner can completely ruin a great photo. If you're a content creator, it’s the difference between a professional-looking shot for your portfolio and something you can't use. For the rest of us, it might be blocking a friend's smile or a gorgeous sunset. The goal is simple: you just want a clean, unobstructed picture.
This guide will walk you through exactly how to do that. We're focused on preserving the original photo so you can share it on other platforms or just keep it as a perfect memory, banner-free.
The Push for Picture-Perfect Content
In a world where everyone has a great camera in their pocket, the standard for high-quality images has never been higher. Snapchat's user base is massive—it's climbed to over 453 million daily active users. In such a visual space, looks matter. This is why a clean edit is no longer a "nice-to-have," but a necessity. You can read more about Snapchat's user growth to see just how big the platform has become.
It's not just about making a picture look pretty. It's about getting your original memory back. A banner-free photo lets the moment speak for itself, without any digital clutter getting in the way.
Your Options for Getting Rid of Banners
Before we dive into the how-to, let's look at the different ways people try to handle these banners. Some methods are definitely better than others.
Ways to Handle Snapchat Banners
Here’s a quick look at common methods for dealing with Snapchat banners, showing why a dedicated AI tool is the most effective approach.
| Method | Effectiveness | Effort Required |
|---|---|---|
| Cropping | Poor. You lose part of the photo. | Low |
| Manual Editing (e.g., Photoshop) | Medium to High. Can leave smudges or artifacts. | High (Requires skill) |
| Dedicated AI Tool (e.g., SnapCaptionRemover) | Excellent. Clean, seamless removal. | Very Low |
As you can see, using a purpose-built tool like SnapCaptionRemover gives you the best result with the least amount of work.
A Tool Designed for the Job
Let's be real: trying to manually edit a banner out in Photoshop takes forever and often leaves a blurry mess. Cropping it out just means you lose part of your original shot. A dedicated tool is simply a smarter way to go.
Here's a look at the homepage for SnapCaptionRemover, the tool we'll be using.
The first thing you'll notice is how simple it is. There’s just a drag-and-drop box, making it super easy to upload your photo. The whole point is to let anyone, no matter their tech skills, get a clean picture in just a few seconds.
Saving Your Snap the Right Way
To get a flawless final image, you have to start with the right source file. Think of it like cooking—the better the ingredients, the better the final dish. The same principle applies here. The quality of your edited photo is directly tied to the quality of the original snap you save.
So, what's the secret? It’s surprisingly simple: always save your snap directly from the app.
I’ve seen so many people just take a screenshot. It feels faster, I get it. But screenshotting actually compresses the image and reduces its quality. When you hand that lower-quality file over to an AI removal tool, it has less data to work with, which can lead to a less-than-perfect edit. A direct save keeps all that crucial detail intact.
How to Save Your Snap Correctly
Getting your snap ready for editing is a breeze once you know where to look. After you've taken your picture and added your text, you'll see a save icon at the bottom of the screen—it typically looks like a little downward-facing arrow.
-
Just tap the Save icon. This action downloads the snap straight to your phone's photo library or into your Snapchat "Memories," depending on what you've set up.
-
Double-check your settings. If you want your snaps to go directly to your camera roll every time, pop into your Snapchat profile. Tap the gear icon for Settings, scroll to "Memories," and under the "Save Button" option, make sure you've selected "Camera Roll Only."
A little tip from my own experience: I create a special album on my phone called "Snaps to Edit." This way, I'm not endlessly scrolling through my camera roll trying to find the right picture later. It keeps things organized and makes the whole process much quicker.
Nailing this first step is everything. It ensures you have a high-quality file to work with, setting you up for a clean, professional-looking result. For more in-depth guides, you can also learn how to remove a Snapchat caption from a photo on our blog. Trust me, getting this part right makes a world of difference.
How to Use SnapCaptionRemover
Alright, let's get to the good part: actually getting that annoying Snapchat banner off your photo. I've used plenty of editing tools, and what I appreciate about SnapCaptionRemover is its simplicity. There's nothing to download or install; you just do everything right from your web browser.
What's happening behind the scenes is pretty clever. The tool uses a specialized AI that has been trained to do one thing really well: find and erase Snapchat's text banners. It doesn't just smudge the area or leave a weird, blurry patch like some manual editing jobs can. Instead, the AI intelligently rebuilds the pixels that were hidden under the text, matching the colors and textures of the surrounding photo for a clean, natural look.
Your Quick Path to a Clean Photo
When you land on the website, you'll see it gets straight to the point. There's a big, obvious drag-and-drop area, so you know exactly where to start.
This visual gives you a great idea of how simple it is.
As you can see, it's a straightforward journey from uploading your image to getting the final, banner-free version.
Got your saved Snap ready? Here’s all you need to do:
- Upload your photo. Look for the "Upload Image" button, or just drag the image file from your computer and drop it right into the box on the homepage.
- Pick your picture. A file window will open, letting you browse to your camera roll or wherever you saved the Snapchat image.
- Let the AI work its magic. Once the image is uploaded, the tool gets to work instantly. A progress indicator will pop up, showing you that the AI is analyzing the banner and removing it.
The whole process is incredibly fast—it usually takes just a few seconds. You don't have to do anything else. The tool handles the entire snapchat banner removal for you.
Honestly, the real win here is how much time it saves. Photo editing can be a real pain, but this is basically a one-click fix for a very common headache.
Seeing the Results
After a few moments, the website will show you a side-by-side comparison. You'll see your original photo with the banner next to the new, cleaned-up version. This is my favorite part because you can immediately see how well it worked and make sure the background looks right.
This final preview gives you total confidence before you even hit download. If you want to dive deeper, you can learn more about the advantages of using a dedicated Snapchat caption remover online in our other guide. From here, just one click is all it takes to save your picture, finally free of that banner.
Getting Your Clean Photo and Putting It to Use
You've done it! The annoying Snapchat banner is gone, and your photo looks fantastic. Now, let's get that picture saved and ready for its new life. SnapCaptionRemover makes downloading your restored image a breeze.
Once the tool shows you the side-by-side comparison—your original next to the cleaned-up version—you’ll spot a big “Download” button. Just give that a click. The high-resolution photo will save right to your device's default downloads folder, no fuss involved. You’ll get a standard .JPG or .PNG file, ready to go.
What to Do With Your Banner-Free Photo
This is where the fun begins. With the distracting banner out of the way, your photo is free to be used anywhere.
Here are a few ideas I've seen work great:
- Share it everywhere else. That great snap is no longer trapped on Snapchat. Post it on your Instagram grid, use it in a TikTok slideshow, or add it to a Facebook album. No one will know it started as a snap.
- Build a photo album. Start collecting your favorite shots for a digital scrapbook or even a printed photo book. Without the banners, your memories will look clean and professional.
- Send it to friends and family. If other people are in the photo, send them the clean version! They'll love having a perfect copy of a fun moment you shared.
The best part about removing the banner is that you get to own your memory again. You decide how your photo looks and where it's seen, making sure the focus is on the moment, not the app. This simple fix gives your pictures a much more timeless feel.
Pro Tips for Getting That Perfect, Banner-Free Edit
Using an AI tool to get rid of Snapchat banners is a game-changer, but I've picked up a few tricks over the years that can take your results from good to absolutely flawless. Honestly, the final image quality often comes down to the photo you start with.
Think about the background of your snap. The AI's job is to intelligently guess what's behind that text banner and rebuild it. If you've got a simple, clean background—like a solid wall or a clear sky—the tool will have a much easier time creating a seamless patch. It's almost magical.
On the other hand, a really busy background can be a bit tougher for any AI. Things like intricate patterns, a brick wall with lots of texture, or a crowd of people make the reconstruction more complex. The AI can still do a great job, but it's something to keep in mind.
What to Do If You Spot Minor Flaws
Even the best AI can sometimes leave behind a tiny artifact or a slight blur where the banner used to be. Don't sweat it. This is usually a quick fix.
Here are a few things I always try first:
- Go with a high-res image. Always, always save your original snap in the highest quality you can. A screenshot will compress the file and give the AI less data to work with, so a direct save is your best bet.
- Try a tiny crop. If there’s just one little spot that looks off, try cropping the image ever so slightly. Sometimes, just trimming a few pixels is all it takes to hide the imperfection without losing the essence of your photo.
- Give it another go. It might sound too simple, but just re-uploading the image and running it through the tool a second time can often clear things up. The AI might process it differently and give you a cleaner result.
The real goal here is to make it look like the banner was never there in the first place. When you feed the tool a good source image and know these little tricks, you can get a truly professional-looking edit every single time.
These small tweaks can make all the difference. In a world where visual content is king—so much so that Snapchat's revenue is projected to hit an incredible $6.87 billion next year—having clean, high-quality images matters. You can read more about Snapchat's growth and financial projections and see why visuals are so important.
For an even deeper dive, check out our full guide on how to remove text from a Snapchat picture. Once you get the hang of these techniques, you'll be able to make sure all your favorite memories look picture-perfect.
Got Questions? We've Got Answers
If you're wondering about how SnapCaptionRemover works, you're in the right place. We get a lot of the same questions, so I've put together some quick, straightforward answers to help you out.
Is SnapCaptionRemover Actually Free?
Yes, it is! You can start using SnapCaptionRemover completely free of charge. We offer a free trial that lets you process a handful of images so you can see the magic for yourself. It’s perfect for those one-off photos you really want to fix.
If you find yourself needing to clean up a lot of images—maybe you're a content creator or just have a huge backlog of snaps—we do offer premium plans. This way, casual users get what they need for free, and power users have a reliable tool for bulk work.
What About Banners on Videos?
Right now, SnapCaptionRemover is a specialist—it's laser-focused on still images. The AI has been meticulously trained on photo formats like .JPG and .PNG, which is why it does such an amazing job of cleaning up pictures saved to your camera roll.
Video is a different beast altogether and isn't something the tool supports at the moment. We're all about delivering the absolute best results for photos.
We get this question a lot, and it highlights an important distinction. The AI is a specialist. It’s designed to do one thing perfectly: provide a flawless Snapchat banner removal from your photos.
Is It Safe to Upload My Photos?
Absolutely. Your privacy is our top priority, and we've built our process around that. When you upload a picture, it's used only for the banner removal process and is handled on secure servers.
Your images aren't kept on our servers long-term. They're automatically scrubbed after a short time, so you can be confident that your personal memories stay just that—personal.
Does It Remove Other Things, Like Stickers or Filters?
SnapCaptionRemover was built for one specific, very common problem: getting rid of those black or grey text banners on Snapchat. It's incredibly good at that single task.
It isn't designed to handle other elements like AR filters, Bitmoji, or decorative stickers. The AI's specialization is what makes it so accurate for text banners.
Ready to see your photos without that annoying banner? Give SnapCaptionRemover a try and get a clean, perfect image in seconds. Start your free trial today.