Your Guide to a Perfect Snapchat Text Remover Tool
You've been there. You snap the perfect photo or video, add a clever caption, and save it. But later, that once-perfect text just feels… in the way. The best fix for this is a dedicated Snapchat text remover tool. I've found that tools like SnapCaptionRemover are lifesavers, using AI to cleanly erase text from your media without making you wrestle with complicated software.
It’s all about getting your original memory back, clean and ready for whatever you want to do with it.
Why You Actually Need a Snapchat Text Remover
Ever film a great clip, save it, and then spot a glaring typo in the caption? Or maybe you have a photo from your Snapchat memories that you'd love to post on Instagram, but the old caption just doesn't fit the vibe. These are the exact situations where a good removal tool becomes indispensable.
Here's the frustrating part: when you save a Snap, the app permanently "flattens" everything. The text, stickers, and filters all get merged into a single image layer. You can't just go back into the app and delete the text like you could before saving. It’s stuck there.
Before diving into a specific tool, it's helpful to see what your options are. Not every method is right for every situation.
Snapchat Text Removal Options at a Glance
| Method | Best For | Speed | Ease of Use |
|---|---|---|---|
| Specialized AI Tool | Quick, high-quality removal from any photo or video | Very Fast | Very Easy |
| Manual Photo Editing | Precise control, but requires skill and software (e.g., Photoshop) | Slow | Difficult |
| Cropping the Image | When the text is near an edge and you don't mind losing part of the image | Fast | Easy |
| Covering with a Sticker | A quick, casual fix if you're re-sharing on Snapchat or Instagram Stories | Fast | Easy |
While cropping or covering up text can work in a pinch, they're compromises. A dedicated AI tool is the only method that truly removes the text while preserving the original image.
Real-World Scenarios Where This Comes in Handy
I find myself turning to these tools for all sorts of reasons. You probably will, too.
- Repurposing Content: That hilarious video from your Snapchat Story? It would make a killer Instagram Reel or TikTok, but only if you get rid of the Snapchat-specific text first.
- Fixing Annoying Mistakes: We all make them. A typo or a caption you instantly regret can ruin an otherwise perfect memory. A removal tool gives you a do-over.
- Creating a Clean Archive: A lot of us use Snapchat as our go-to camera. Removing the text lets you save clean, timeless versions of your photos to your camera roll without the clutter.
- Professional Use: I’ve seen social media managers do this all the time. They need to remove a caption from great user-generated content before they can feature it on a brand's official page.
The need for these tools is only getting bigger. With Snapchat's daily active users hitting a massive 453 million by the end of Q4 2024, the amount of content being created with permanent text is staggering. This growth directly fuels the demand for simple ways to edit these images after the fact. You can dig into more Snapchat user trends to see just how much content we're talking about.
My Key Takeaway: This isn't just about fixing typos. It's about regaining control over your own photos and videos. It lets you adapt, share, and save your memories exactly how you want, without any distracting text getting in the way.
Here’s a quick look at how straightforward the interface for a good tool should be.
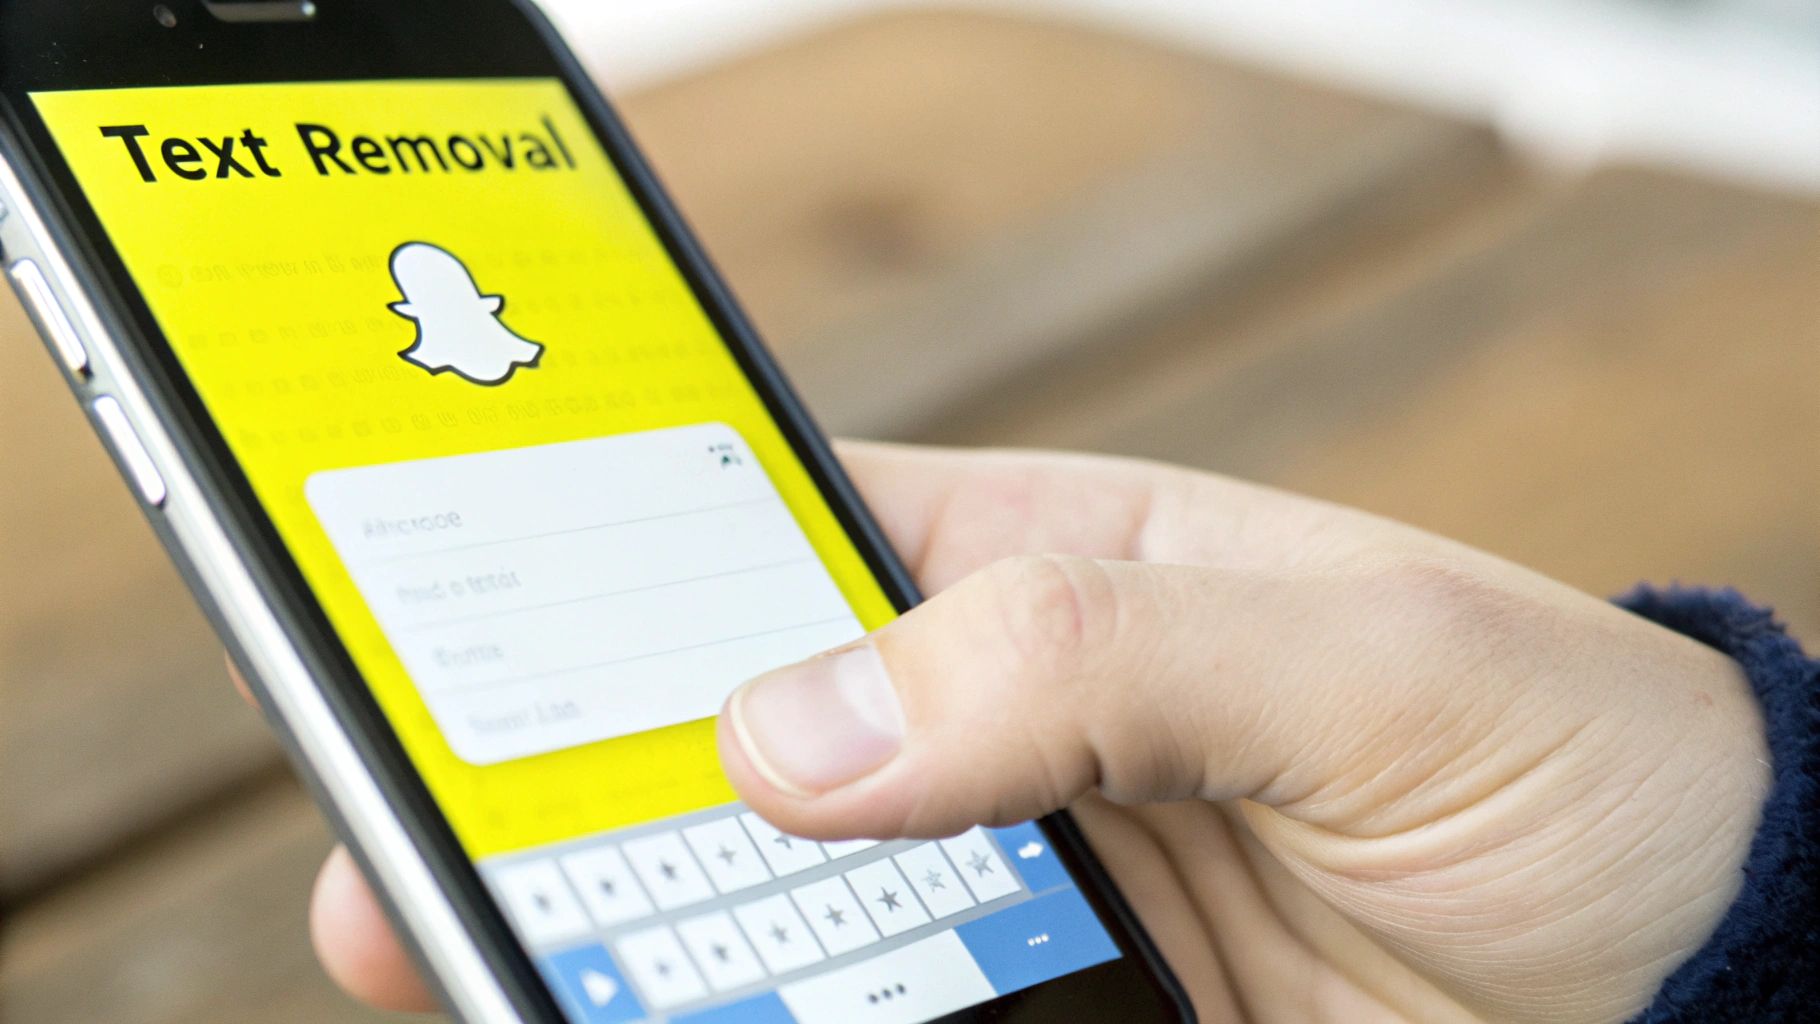
Notice how clean that is? It’s designed for one thing: getting the job done fast. Just an upload button and a clear instruction. That’s exactly what you want when you need a quick edit.
Alright, let's get down to the brass tacks of actually using a Snapchat text remover. I'll walk you through how to use a tool like SnapCaptionRemover, which is one of the more straightforward options out there. The beauty of it is that it's all done in your web browser, so you don't need to download any clunky software.
First thing's first: you need to get your photo or video into the tool. Just head over to the SnapCaptionRemover site. You'll see an upload box pretty quickly. From there, you can either drag your file right onto the page or click to open your file browser and find it the old-fashioned way.
Highlighting the Text You Want Gone
Once your picture or video is loaded, you'll see it on the screen. This is where you tell the tool what to remove. You'll get a selection box that you can click and drag to draw a rectangle directly over the caption. It’s a simple, intuitive process.
For the best results, you need to be a little precise here. Make sure the box covers every last bit of the text, including the semi-transparent background or any drop shadows Snapchat might have added. If you only cover the letters, you might be left with a faint, ghostly box where the caption used to be. A clean selection is the secret to a clean removal.
Pro Tip: Got a video? You're in luck. You only have to highlight the text on the very first frame. The tool's AI is smart enough to track the caption and remove it from the entire clip automatically. No need to do it frame by frame.
This handy visual guide shows you just how simple the workflow is. You upload, select the text, and get your clean image.

As you can see, it's a quick three-stage process: upload, select, and download. That's what makes these tools so user-friendly.
Finishing Up and Saving Your Content
After you’ve drawn your box, you’re on the home stretch. Just hit the "Remove" button and let the AI work its magic. What it's actually doing is pretty clever—it analyzes the pixels around the text and intelligently fills in the gap, essentially rebuilding the background. For a simple photo, this whole process often takes just a few seconds.
Before you commit, the tool will typically show you a side-by-side preview. Take a second to look it over. If it looks natural and the text is completely gone, you're good to go. Just click the download button, and your clean, watermark-free photo or video will save right to your device.
If you’re looking for a few more pointers, we have a complete guide on how to remove text from a Snapchat picture that dives even deeper.
Let's run through a few common situations you might encounter:
- Simple Captions: If the text is on a simple background, like a clear blue sky or a solid-colored wall, a quick highlight is all you'll need for a perfect edit.
- Text Over Faces or Complex Patterns: This is where you want to be extra careful. Try to select only the text and its immediate background. The AI is good, but giving it less complex information to rebuild from always yields better results.
- Faint or Semi-Transparent Captions: Don't be fooled by how faint they look. Make sure your selection box covers the entire area where the text is visible to ensure every trace of it is erased.
Follow these pointers, and you'll be able to clean up your snaps on the very first try. It really is that easy.
Tips for Removing Text from Complex Backgrounds
Removing a simple caption from a clear blue sky is one thing, but what happens when the text is slapped right over a tricky background? Think of a patterned shirt, a colorful sunset gradient, or the constantly shifting scene in a video. This is where a good Snapchat text remover tool really earns its keep, but a little bit of technique from you can make a huge difference.
The magic behind a tool like SnapCaptionRemover is its AI. It works by analyzing the pixels around your selection to intelligently fill in the space where the text used to be. When that background is complex, giving the AI good, clean information to work with is the secret to getting a seamless result. A sloppy selection, on the other hand, is a recipe for smudges and blurry patches.
Handling Text on Detailed Patterns
Let’s picture a common scenario: you’ve got a great photo, but the caption is sitting right on top of someone’s intricately patterned sweater. This is a classic challenge. Your main goal here is to be as precise as you can with your selection.
- A tight selection is everything. Adjust the selection box to cover only the text and its immediate shadow or semi-transparent background. Try to avoid grabbing big chunks of the pattern if possible. The less of the complex background you cover, the less the AI has to "guess."
- Focus on the edges. Pay close attention to the very edges of the text. If you can leave a few pixels of the pattern just inside your selection box, the AI can use that data to replicate the pattern more accurately.
For instance, if the text is over a plaid shirt, try to align your selection box with the lines of the plaid. This gives the algorithm a much clearer path to follow when it's rebuilding the background.
Removing Captions from Faces and Key Details
This is probably the most delicate removal job you'll face. Nobody wants an otherwise perfect portrait ruined by a weird digital smudge where the text used to be. The good news is the process is basically the same—it just requires a little more care.
Let's say a caption cuts right across someone's cheek. You still just need to draw a tight box around the text. The AI is specifically trained for these situations. It samples the surrounding skin texture and tone to rebuild the area in a way that looks convincing. Honestly, modern tools are surprisingly good at this.
Here's a personal example: I once had a fantastic group photo that was nearly ruined by a caption running right across my friend's smile. I carefully selected only the text, and the tool managed to reconstruct her smile perfectly by using the uncovered parts as a reference. The result was completely natural—you’d never know it was there.
Tackling Different Snapchat Text Styles
Snapchat has a few different text styles, from those big, bold, opaque blocks to the classic, semi-transparent black bars. Each one benefits from a slightly different touch to get the best results.
Text Style Considerations
| Text Style | My Removal Tip | Why It Works |
|---|---|---|
| Bold & Opaque | Your selection can be pretty straightforward. Just cover the whole text block. | The AI gets very clear edges to work from, making it simple to define the removal area. |
| Semi-Transparent | Make sure your selection box covers the entire faint bar, not just the letters inside it. | If you don't cover the whole bar, you can be left with a ghostly, discolored rectangle in your final image. |
| Text with Drop Shadows | Be sure your selection box extends just a little bit beyond the shadow itself. | The shadow is part of the text overlay. If you leave it behind, it will create a faint, blurry outline. |
At the end of the day, success with complex backgrounds all comes down to making a clean, precise selection. Once you understand how the AI "thinks" and you give it the best possible information to work with, you can confidently use a Snapchat text remover to clean up even your most challenging photos and videos.
Picking the Right Tool for the Job
So, you've got a great Snapchat photo or video, but a pesky caption is ruining the shot. What now? You've actually got a few different ways to fix this, and the best method really boils down to what you need, how much time you have, and how tech-savvy you're feeling.
Your options generally fall into three buckets: big-gun professional software, simple mobile apps, and specialized tools built for this exact task, like a Snapchat text remover tool. Let's break down when you'd use each one.
Professional Software vs. Specialized Tools
On one side, you have heavyweights like Adobe Photoshop. There’s no denying its power. If you know what you’re doing, you can meticulously remove a caption by hand, cloning and healing the background until it's pixel-perfect. It gives you ultimate control.
But here’s the catch: that control comes with a price. Photoshop has a notoriously steep learning curve and isn't free. For someone who just wants to clean up a single Snap, diving into layers and clone stamps is usually overkill.
That’s where a dedicated tool like SnapCaptionRemover comes in. It was designed to do one thing and do it well: get text off your social media images and videos. This focus makes it incredibly fast and easy to use. No need to watch hours of tutorials—you just upload your file, highlight the text, and let the AI do the heavy lifting.
For anyone managing social media accounts or creating content daily, speed and privacy are everything. Using a tool that works right in your browser is a game-changer compared to clunky, slower alternatives.
This is why these specialized solutions have become so popular. They handle everything locally in your browser, so your files stay private and the results are almost instant. Their AI is often trained specifically on the fonts, colors, and styles you see on Snapchat and Instagram, leading to an impressive accuracy rate—often over 85% for common caption types.
What About Free Mobile Apps?
So where do all those free photo editing apps on your phone fit in? They can be a solid middle-of-the-road option. Many have a basic "object removal" or "eraser" feature that can get the job done for simple fixes. The biggest advantage is convenience—the app is already on your phone, perfect for a quick edit on the fly.
The results, however, can be a bit of a gamble. The quality of the AI varies wildly from one app to another. You might also run into annoying limitations, like the app slapping its own watermark on your photo or locking the best features behind a subscription. They’re great for a casual, one-off edit, but if you need a truly clean result for repurposing content, you might be left wanting more.
Our complete guide on using a Snapchat text remover dives deeper into weighing these pros and cons.
Ultimately, it all comes back to your goal.
- For total control and flawless results: Photoshop is king, if you have the skills and subscription.
- For a quick, casual fix: A free mobile app can work in a pinch.
- For the fastest, easiest, high-quality removal: A purpose-built Snapchat text remover is almost always your best bet.
Common Mistakes to Avoid When Removing Text
Using a good snapchat text remover tool can feel like a magic trick, but a few common missteps can leave you with frustrating results. If you know what to watch out for, you can save yourself a ton of time and make sure your final image or video looks clean and natural. It’s all about working with the tool, not against it.
A classic mistake I see all the time is being too timid with the selection box. People make the selection just a hair too small, and they end up with faint outlines or ghostly shadows of the original caption. This happens a lot with Snapchat’s semi-transparent backgrounds or text that has a drop shadow. The AI is smart, but it can only remove what you tell it to—if a pixel is left out of the box, it stays in the picture.
The Pitfall of an Oversized Selection
On the other hand, going overboard with your selection box creates its own headaches. If you draw a huge rectangle that stretches far beyond the text into a clean part of the background, you're making the AI work way harder than it needs to.
You're essentially asking it to reconstruct a much larger area, which can sometimes lead to minor blurring or smudging, especially if the background has a tricky texture.
Key Takeaway: The sweet spot is a selection that's snug but complete. It should cover the entire text element, including any backgrounds or shadows, but without grabbing huge, unnecessary chunks of the surrounding image. Precision is your best friend here.
I like to think of it like using painter's tape. You want the tape to cover the trim perfectly—no more, no less—to get that crisp, clean line. The same idea applies to your selection.
Starting with Low-Quality Media
Another major pitfall is trying to fix a super low-resolution image or video. When you start with a blurry or pixelated file, you're not giving the AI much data to work with. It needs clear information from the surrounding pixels to intelligently fill in the space where the text used to be.
With low-quality files, you might run into a few issues:
- The filled-in area can look noticeably softer or blurrier than the rest of the image.
- The tool may struggle to accurately copy complex patterns or textures.
- Colors in the patched-up area might not quite match the original background.
For the best results, always, always use the highest-quality version of the photo or video you can get your hands on.
Setting Unrealistic Expectations
Finally, it’s important to keep your expectations in check, especially when you’re dealing with extremely detailed and non-repeating patterns. Picture a caption slapped over a close-up of a pile of intricate, multi-colored jewels. Recreating that perfectly is a monumental task for any AI.
While modern tools are incredibly powerful and handle most everyday situations with ease, these hyper-complex backgrounds can sometimes result in a slightly imperfect finish. Knowing the limits helps you pick the right photos for the job and appreciate just how well the tool works on the 99% of typical images you'll be editing. By sidestepping these common mistakes, you’ll get a far better result every time.
Answering Your Questions About Text Removers
When you're trying to quickly clean up a photo or video, you're bound to have some questions. It’s completely normal. Getting clear answers is the best way to pick the right snapchat text remover tool and feel good about using it. Let's walk through some of the most common things people ask.
Is It Really Safe to Use an Online Tool for This?
This is probably the most important question on your mind, and for good reason. The safety of your personal photos is a big deal, and the answer really depends on how a specific tool works.
Lots of people are hesitant to upload their private images to some random site, and I don't blame them. But a well-designed, secure tool like SnapCaptionRemover handles this differently. It works entirely within your web browser. This means your photos and videos are never uploaded to an external server. The magic happens right there on your own device, so your memories stay private.
Pro Tip: Always look for a browser-based tool if you're concerned about privacy. When the file never leaves your computer or phone, you’re in complete control from start to finish.
Can This Work on Videos, Too?
Yes, absolutely! Modern AI removal tools are sophisticated enough to handle both still images and video clips. The technology just gets a bit more complex for moving pictures.
With a photo, the AI looks at the area around the text and uses that information to intelligently fill in the gap. For a video, it has to do that for every single frame. The tool analyzes the footage as it moves, seamlessly reconstructing the background throughout the entire clip. The end result is a clean video file, as if the caption was never there in the first place.
What's the Best Free Tool to Get This Done?
You'll find plenty of general photo editors out there, but in my experience, the best tool is usually one made for a specific purpose. When it comes to wiping captions from social media content, a specialized option like SnapCaptionRemover is a fantastic choice.
So, why go with a dedicated tool?
- It's Fast: It’s built to do one thing, so there are no complicated menus to dig through. The whole process is quick and direct.
- It's Simple: The interface is usually dead simple: upload your file, highlight the text, and download the clean version. No need to learn a complex program like Photoshop.
- The AI is Smarter (for this task): The AI is often trained specifically on the types of fonts, colors, and backgrounds you see on apps like Snapchat, leading to a much cleaner removal.
This focused design makes it a surprisingly powerful tool that anyone can use for a quick, high-quality edit. If you have more questions, we've put together even more detailed answers on our complete FAQ page for our Snapchat text remover.
Ready to see just how simple it is to rescue your own photos and videos? Give SnapCaptionRemover a try and see for yourself. You can get a clean, professional-looking result in just a few clicks over at https://www.snapcaptionremover.com.