7 Basic Photo Editing Techniques to Master in 2025
In digital photography, capturing the shot is only half the story. The other half happens in post-processing, where you can transform a good photo into a great one. This is where a solid understanding of basic photo editing techniques becomes essential. These foundational skills are not about creating artificial images; they are about enhancing what is already there, correcting minor imperfections, and making your photos truly stand out. Whether you want to fix a slightly dark picture, make colors pop, or simply present a cleaner, more professional image on social media, these adjustments are your key to success.
Mastering these core principles allows you to rescue shots you might have otherwise deleted and add a polished, impactful quality to all your work. From an influencer tidying up a snapshot to a hobbyist building a portfolio, the ability to effectively edit is a non-negotiable skill. This guide demystifies the process by breaking down seven fundamental techniques. We will provide clear, actionable steps and practical examples for each, helping you unlock the full potential of your images. You will learn precisely how to adjust exposure, correct color, improve composition, and more, gaining the confidence to elevate every photo you take.
1. Exposure Adjustment: The Foundation of a Great Edit
Exposure adjustment is one of the most fundamental and impactful basic photo editing techniques you can master. It controls the overall brightness or darkness of your image, mimicking how much light the camera's sensor captured. Getting the exposure right is the crucial first step that sets the stage for every other edit, ensuring your photo has a solid foundation.
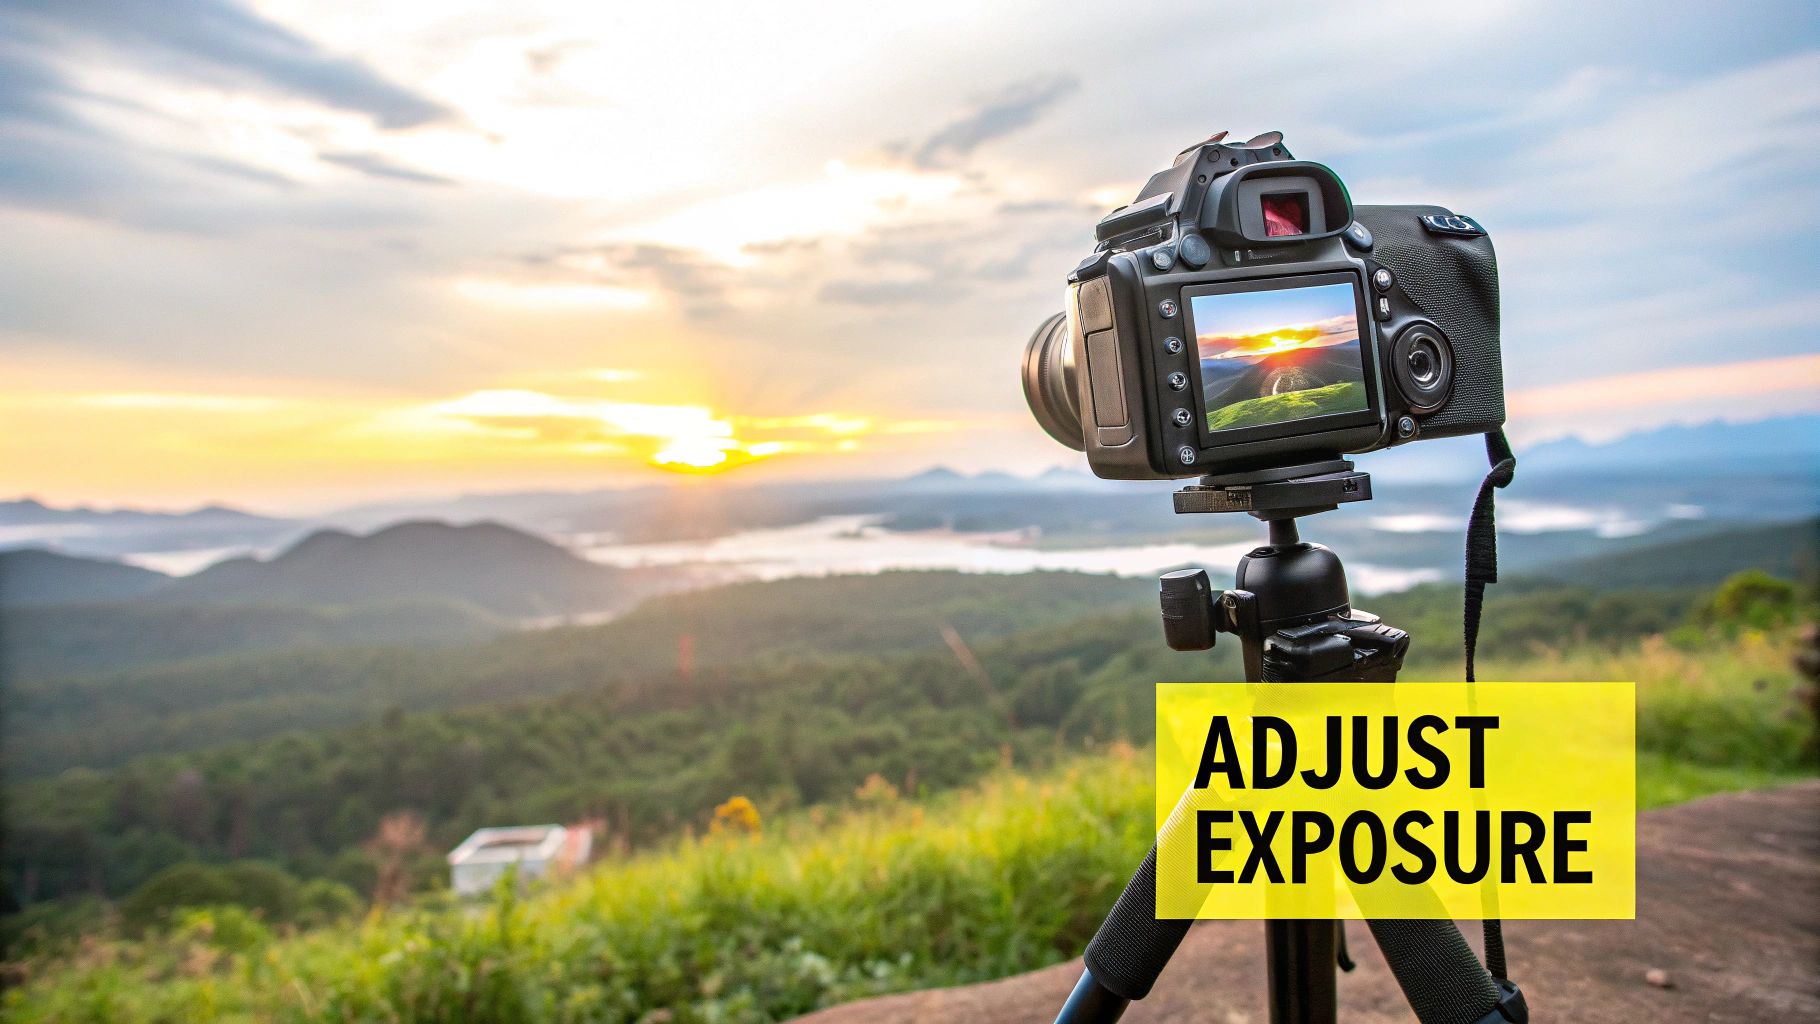
This technique is your primary tool for correcting photos that are too dark (underexposed) or too bright (overexposed). A simple slide of the exposure tool can rescue details hidden in shadows or bring back definition to washed-out highlights, instantly improving the photo's clarity and impact. If you want to dive deeper into this specific area, you can learn more about how an online image brightener works to perfect your photos.
When to Use Exposure Adjustment
Exposure is your go-to fix in several common scenarios. Use it to brighten indoor photos taken without enough light, making dimly lit rooms feel warm and inviting. Conversely, you can darken overexposed outdoor scenes, like a sunny day at the beach or a snowy landscape, to prevent bright areas from looking like pure white blobs. It's also essential for correcting backlit portraits where your subject appears as a dark silhouette against a bright background.
Actionable Tips for Perfect Exposure
To get the best results, follow these practical tips:
- Trust the Histogram: Don't just rely on your eyes. The histogram is a graph that shows the tonal range of your photo. A well-exposed image typically has a balanced graph, not one bunched up on the far left (underexposed) or far right (overexposed).
- Work with RAW Files: If possible, shoot in RAW format. RAW files contain much more image data than JPEGs, giving you significantly more flexibility to adjust exposure without losing quality or introducing unwanted digital noise.
- Make Small, Incremental Changes: Avoid pushing the exposure slider to its extreme limits in one go. Make small, gentle adjustments to find the sweet spot. Over-editing can make a photo look unnatural and damage its quality.
- Check for Clipping: Most editing software has "clipping warnings" that show areas of your photo that are pure black or pure white with no detail. Turn these on while adjusting exposure to ensure you aren't losing important information in the shadows or highlights.
2. Color Correction: Achieving True-to-Life Hues
Color correction is another of the most essential basic photo editing techniques, focusing on adjusting the colors in an image to make them accurate and natural. This process fixes unwanted color casts, which often occur due to different lighting conditions, ensuring that whites appear white, blacks appear black, and all other colors look as they should. Proper color correction is the key to creating a believable and professional-looking photograph.
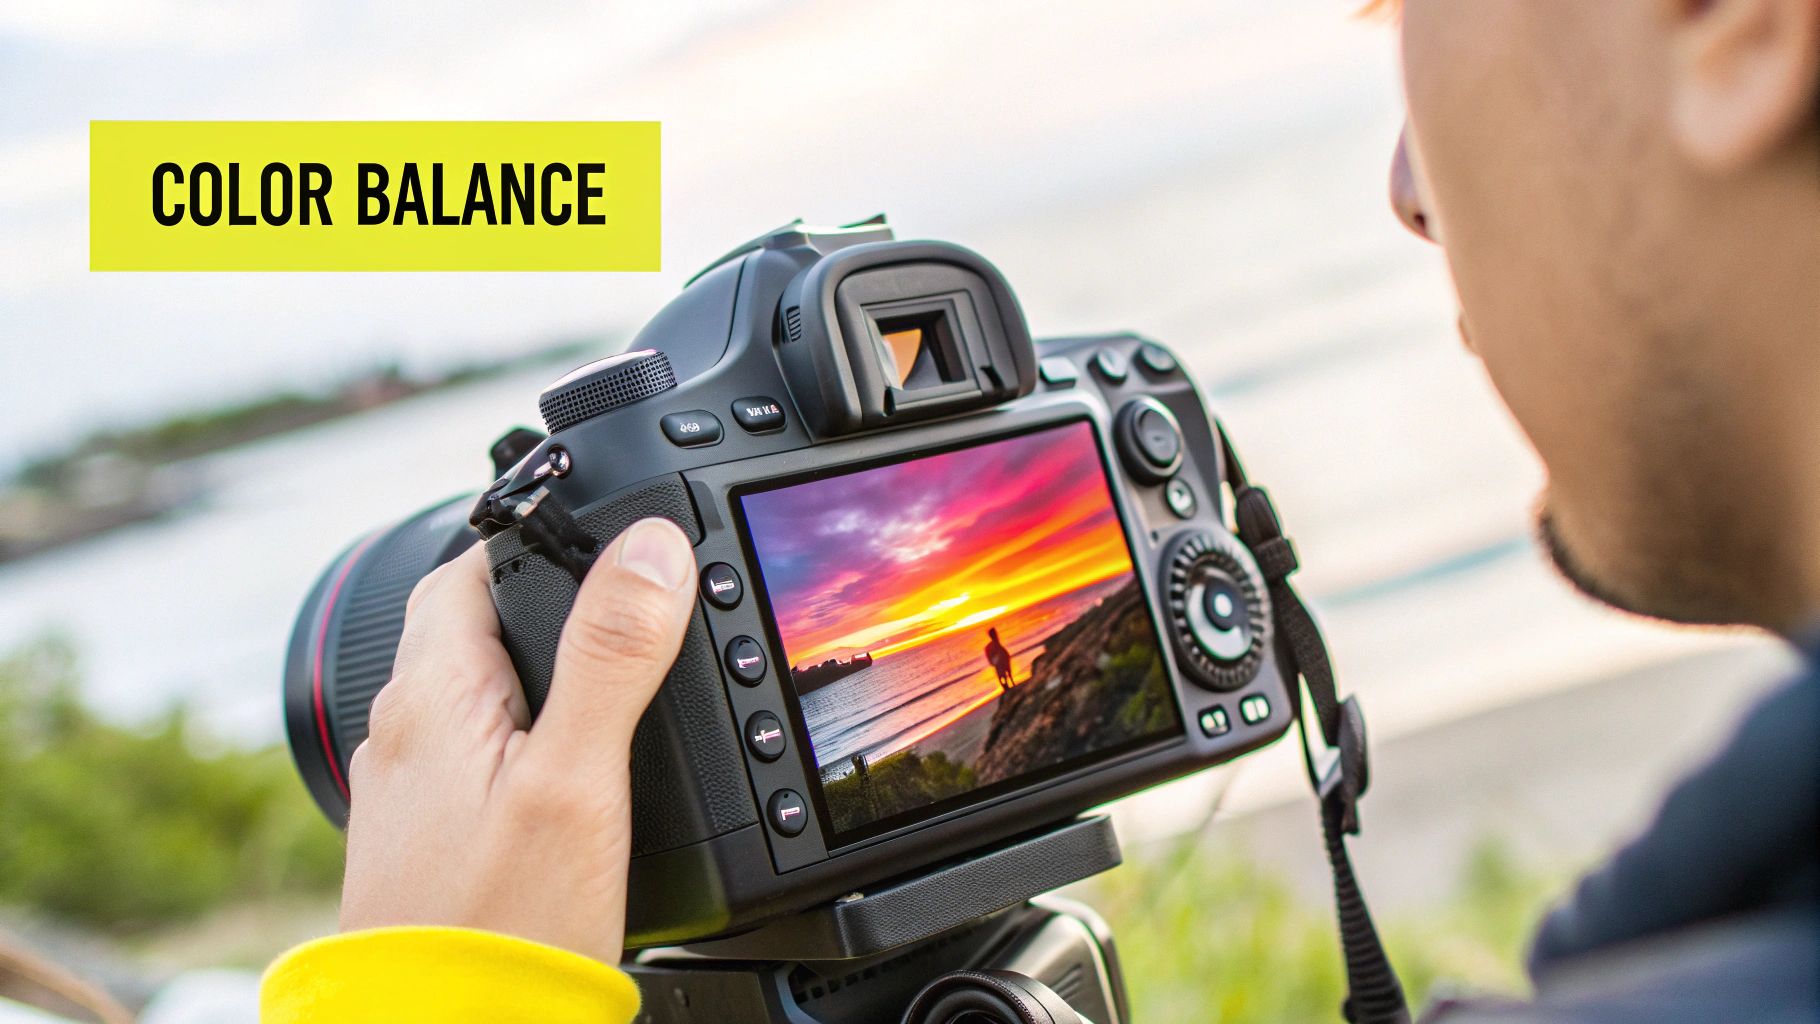
This technique involves manipulating an image's white balance (temperature and tint) and sometimes individual color channels to neutralize unrealistic tones. A simple adjustment can remove the heavy orange glow from indoor tungsten lighting or cool down the blue tint common in photos taken in the shade. It’s the difference between a photo that looks "off" and one that feels authentic and visually pleasing.
When to Use Color Correction
Color correction is crucial for almost any photo that wasn't shot in perfect, neutral light. Use it to fix the strong yellow or orange cast in photos taken indoors under artificial light. It's equally vital for removing the blue tint that appears in images shot on overcast days or in shady areas. For portrait photographers, color correction is indispensable for achieving natural, flattering skin tones and ensuring consistency across a series of shots taken in different environments.
Actionable Tips for Perfect Color
Follow these practical tips to master your color adjustments:
- Start with White Balance: Before diving into more complex color tools, adjust the temperature (blue-to-yellow) and tint (green-to-magenta) sliders. Often, getting the white balance right solves most of your color issues.
- Identify a Neutral Point: Look for something in your photo that should be neutral gray, white, or black. Use your editing software’s white balance dropper tool and click on that neutral area to automatically correct the entire image’s color cast.
- Mind the Skin Tones: When editing portraits, pay close attention to skin tones. They are notoriously tricky but are the most important element to get right. Avoid making skin look too orange, red, or ashen.
- Use the Split View: Constantly compare your edited version with the original. Most editing programs offer a before-and-after split view, which helps you see if your adjustments are improving the image or making it look unnatural.
3. Contrast Enhancement: Adding Depth and Punch
Contrast enhancement is another of the most vital basic photo editing techniques, focusing on the difference between the light and dark areas of your photo. By adjusting contrast, you make the whites brighter and the blacks darker, which adds depth, dimension, and visual "punch" to an image. This technique is what can take a photo from looking flat and dull to appearing dynamic, sharp, and engaging.
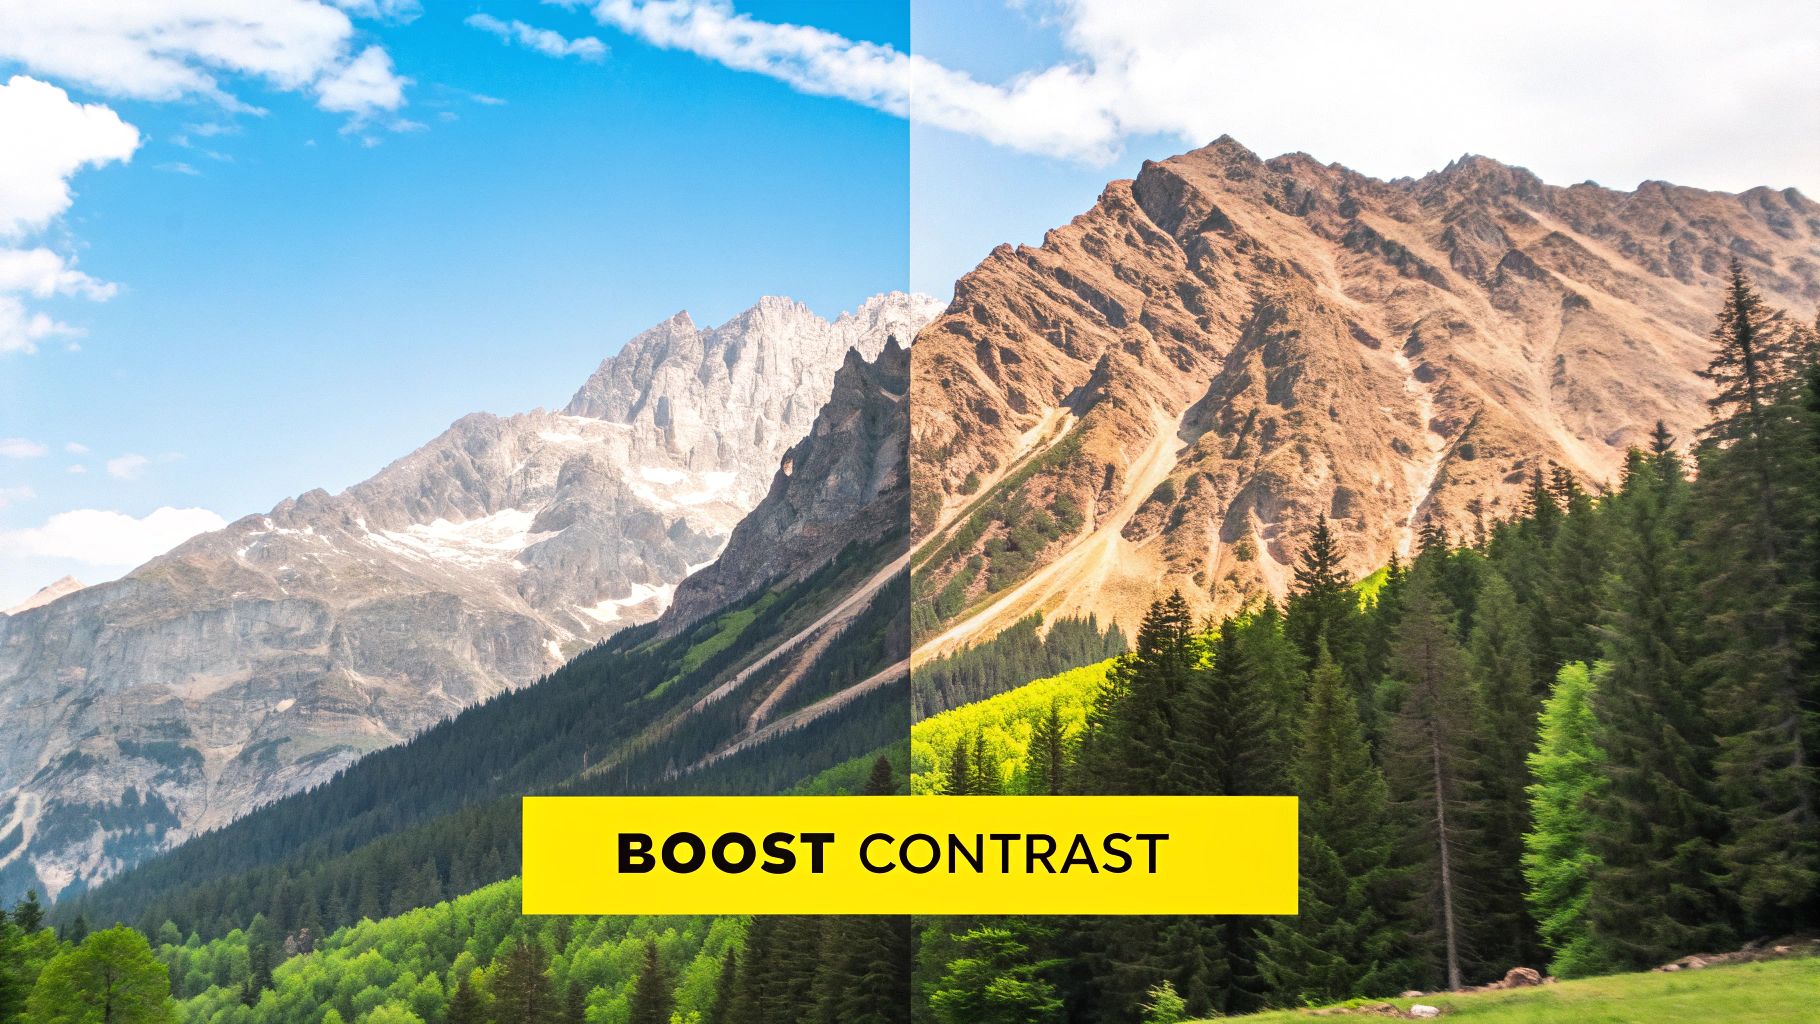
While a single contrast slider can do the job, modern editing tools offer more refined control over highlights, shadows, whites, and blacks. This allows you to precisely manage the tonal range, bringing out texture and detail without sacrificing important information in the brightest or darkest parts of the picture. Getting the contrast right makes your photo's subject stand out and commands the viewer's attention.
When to Use Contrast Enhancement
Contrast is your best friend when dealing with images that look washed out or hazy, a common issue in landscape photos taken on overcast days. It’s also perfect for adding drama and definition to architectural photography, making lines and textures pop. In portraiture, a careful contrast adjustment can sculpt the subject's features, while in black and white photography, strong contrast is often the key to creating a powerful and timeless image.
Actionable Tips for Perfect Contrast
Follow these practical guidelines to master contrast adjustments:
- Use the Tone Curve for Precision: For the most control, skip the basic contrast slider and learn the Tone Curve. It allows you to make precise adjustments to specific tonal ranges (shadows, midtones, highlights) for a much more nuanced and professional result. An "S-curve" is a classic way to boost contrast.
- Apply Clarity or Structure Sparingly: Tools like "Clarity," "Texture," or "Structure" add midtone contrast, which can make details pop. However, they can easily make an image look gritty and unnatural if overused. Apply them subtly to enhance specific areas.
- Balance Contrast with Naturalism: The goal is to enhance the photo, not create an unrealistic, over-processed image. Always ask yourself if the result looks natural. Compare the edited version with the original frequently to keep your perspective.
- Use Masks for Selective Enhancement: Not every part of your photo needs the same amount of contrast. Use layer masks or adjustment brushes to apply contrast selectively, for instance, to make your main subject stand out while keeping the background softer.
4. Cropping and Composition: Framing Your Masterpiece
Cropping is one of the most powerful yet simple basic photo editing techniques for transforming an average shot into a compelling one. It involves trimming the edges of an image to remove distracting elements, improve the overall balance, and direct the viewer’s eye exactly where you want it to go. A thoughtful crop can fundamentally change the story your photo tells.

This technique allows you to refine your composition after the fact. You can straighten a crooked horizon in a landscape, get rid of an accidental photobomber in a tourist picture, or create a specific aspect ratio, like a square for an Instagram post. By eliminating unnecessary space, you bring your subject to the forefront, creating a more intimate and impactful image. Mastering composition is a key part of learning how to edit photos online effectively.
When to Use Cropping and Composition
Use cropping to fix common compositional issues. It’s perfect for when you couldn't get close enough to your subject, allowing you to create a tighter, more personal portrait. It's also essential for removing clutter from the edges of your frame, such as a stray trash can or an unwanted sign, that pulls focus from your main point of interest. Additionally, use it to straighten architectural photos or landscapes where the horizon line is slightly tilted, which instantly makes the image feel more professional and stable.
Actionable Tips for Perfect Composition
To improve your photos with cropping, apply these practical tips:
- Follow the Rule of Thirds: Most editing software provides a "rule of thirds" grid overlay. Place key elements of your image along these lines or at their intersections to create a more dynamic and visually pleasing composition.
- Maintain Resolution: Be mindful of how much you crop. Cropping too aggressively can significantly reduce the image resolution, leading to a blurry or pixelated result, especially when printed or viewed on large screens.
- Save the Original: Always work on a copy of your photo or save the original, uncropped version. This allows you to go back and try a different crop later if you change your mind.
- Consider the Aspect Ratio: Think about where the photo will be used. A 16:9 ratio is ideal for widescreen displays, while 1:1 (square) is perfect for Instagram profiles, and 4:5 works best for feed posts.
5. Saturation and Vibrance Adjustment: Breathing Life into Your Colors
Controlling color intensity is another one of the most powerful basic photo editing techniques for creating impactful images. The saturation and vibrance tools allow you to adjust the richness of the colors in your photo, transforming a dull, flat image into one that is vivid and captivating. Understanding the difference between these two adjustments is key to achieving a professional-looking, natural edit.
Saturation boosts the intensity of every single color in your photo equally. Vibrance, on the other hand, is a more intelligent tool; it primarily increases the intensity of muted colors while leaving already saturated colors alone. It is also designed to protect skin tones, preventing people from looking unnatural or orange.
When to Use Saturation and Vibrance
These tools are perfect for adding visual punch to your photos. Use them to make the colors of a dramatic sunset explode across the sky or to make the petals of a flower in a macro shot look more lush and vibrant. They are also invaluable in travel photography for making scenic landscapes or bustling city streets feel more alive and engaging. For product photography, a subtle boost can make items more appealing to customers without misrepresenting them.
Actionable Tips for Perfect Color Intensity
To get the best results with saturation and vibrance, apply these practical tips:
- Prioritize Vibrance for Natural Results: For most photos, especially portraits, start with the vibrance slider. It provides a more subtle and realistic enhancement, preventing the overly processed look that can come from pushing saturation too far.
- Adjust Individual Color Ranges: Most editing software allows you to target specific color channels (e.g., reds, greens, blues). If only the blue sky looks a bit dull, you can increase the saturation of just the blues for precise, targeted control.
- Monitor Skin Tones Carefully: When increasing global saturation, always keep a close eye on skin tones. It's very easy to make people look overly red or orange. If this happens, dial back the saturation or use vibrance instead.
- Check for Artifacts at 100% Zoom: Pushing color adjustments too hard can introduce unwanted digital noise or "color banding," especially in smooth gradients like a clear sky. Zoom in to 100% to inspect your image closely and ensure the quality remains high.
6. Sharpening: Adding Crispness and Clarity
Sharpening is one of the most critical basic photo editing techniques for making your images pop. It works by increasing the contrast along the edges within your photo, which creates the illusion of finer detail and a crisper, more focused appearance. This final touch can transform a slightly soft image into one that looks professional, polished, and full of life, compensating for softness that can occur during digital capture.
This technique is essential for ensuring your photos look their best, whether you're printing them or posting them online. A well-sharpened image draws the viewer's eye to important details, making textures more tangible and subjects more defined. If you want to take a broader look at enhancing your images, you can improve photo quality online with a variety of tools.
When to Use Sharpening
Sharpening should be applied thoughtfully to enhance specific parts of an image. It's perfect for making the details in a sweeping landscape, like tree bark or rock formations, stand out for a large print. In portrait photography, you can use it to selectively bring out the stunning detail in a subject's eyes or hair. It’s also invaluable in product photography, where crisp edges and clear textures are needed to make an item look appealing. Finally, it’s a non-negotiable step before preparing images for web publication, as it counteracts the softening that occurs when images are downsized.
Actionable Tips for Perfect Sharpening
Follow these professional tips to apply sharpening effectively:
- Make It Your Final Step: Always apply sharpening as the very last adjustment in your editing workflow. Sharpening after making other changes, like exposure or color correction, ensures you're enhancing the final details.
- Zoom to 100%: To accurately judge the effect, zoom into your image to a 100% view. This allows you to see the actual pixels and avoid over-sharpening, which can create ugly halos and artifacts.
- Use Masking for Precision: Most sharpening tools include a masking feature. Use it to apply the effect only to the edges and details that need it, like a person’s eyes, while protecting smooth areas like skin or a clear sky from getting a grainy texture.
- Adjust for Print vs. Screen: Images intended for print often require more aggressive sharpening than those meant for screen viewing. Create separate versions of your photo with output-specific sharpening settings for the best results in each medium.
7. Noise Reduction: Cleaning Up Your Images
Noise reduction is a crucial basic photo editing technique for cleaning up visual distortion in your photos. This distortion, known as digital noise, often appears as a grainy or speckled texture, similar to film grain. It happens most frequently when shooting in low light conditions or with a high ISO setting, which makes the camera's sensor more sensitive to light but also more prone to creating these artifacts.
This technique uses sophisticated algorithms to distinguish between unwanted noise and essential image detail. By applying noise reduction, you can smooth out these distracting specks, resulting in a cleaner, more professional-looking image. It’s the key to rescuing photos that would otherwise be unusable due to excessive grain.
When to Use Noise Reduction
Noise reduction is your best friend in several challenging lighting situations. Use it to polish concert photos taken at a high ISO to capture the action, or to clean up wedding reception pictures taken in a dimly lit venue. It's also an indispensable tool for astrophotography, where long exposures and high sensitivity can create significant noise. Additionally, you can apply it selectively to reduce noise that appears when you brighten deep, underexposed shadow areas during editing.
Actionable Tips for Effective Noise Reduction
Follow these practical tips to clean up your photos without losing important details:
- Apply Before Sharpening: Always perform noise reduction as one of the first steps in your workflow, specifically before you apply any sharpening. Sharpening can amplify existing noise, making it much harder to remove cleanly.
- Zoom to 100%: To accurately judge the effect of your adjustments, zoom in to a 100% view. This allows you to see the noise and the impact of your edits clearly, ensuring you don't over-apply the effect and create a plastic-like texture.
- Separate Luminance and Color Noise: Most editing software offers separate sliders for luminance (grayscale) and color (chroma) noise. Color noise often appears as random red, green, and blue specks and is usually easier to remove without affecting detail. Address it first, then carefully adjust luminance noise.
- Preserve Important Details: Be careful not to smooth away fine details in critical areas like eyes, hair, or textures. Use masking tools, if available, to apply noise reduction selectively only to the areas that need it, like smooth backgrounds or deep shadows.
Basic Photo Editing Techniques Comparison
| Technique | 🔄 Implementation Complexity | ⚡ Resource Requirements | 📊 Expected Outcomes | 💡 Ideal Use Cases | ⭐ Key Advantages |
|---|---|---|---|---|---|
| Exposure Adjustment | Low (Beginner) | Low | Balanced global brightness, preserved details | Correcting overall image brightness issues | Quick fix, maintains color relationships, real-time preview |
| Color Correction | Low to Medium (Beginner-Intermediate) | Moderate | Accurate, natural color tones | Fixing color casts, consistent tones across images | Essential for professional quality, improves skin tones |
| Contrast Enhancement | Low to Medium (Beginner-Intermediate) | Moderate | Enhanced image definition and visual impact | Adding depth and drama, improving flat images | Boosts texture/detail, versatile global/local control |
| Cropping and Composition | Low (Beginner) | Low | Improved composition and visual balance | Removing distractions, adjusting aspect ratio | Quick composition improvement, creates better framing |
| Saturation and Vibrance Adjustment | Low (Beginner) | Low | Richer, vivid colors without unnatural look | Enhancing color appeal, protecting skin tones | Selective color boost, natural vibrance enhancement |
| Sharpening | Medium (Intermediate) | Moderate | Increased edge clarity and fine detail | Final image enhancement for print/web | Recovers detail, improves perceived quality |
| Noise Reduction | Medium (Intermediate) | High | Cleaner images with reduced grain/artifacts | Low-light/high ISO photography | Preserves color accuracy, essential in challenging conditions |
Putting It All Together: Your Path to Better Photos
You've just walked through the seven fundamental pillars of photo enhancement. From balancing light with Exposure Adjustment to guiding the viewer's eye with Cropping and Composition, each technique is a powerful tool in your creative arsenal. Mastering these skills is not about drastically changing your photos; it’s about bringing them to life and ensuring they accurately reflect the moment you captured.
Think of these basic photo editing techniques as a complete workflow. A logical path you can follow for every image you edit. You start with the big picture: correcting overall brightness and setting your composition. Then, you refine the mood with Color Correction and Contrast Enhancement. Finally, you polish the details with Saturation, Sharpening, and Noise Reduction. This systematic approach removes the guesswork and helps you produce consistently high-quality results.
From Knowledge to Mastery
The journey from understanding these concepts to mastering them is paved with practice. The real learning begins now, when you open your own photo library and start applying what you've learned. Don't be afraid to experiment. Push the sliders too far to see what happens, then bring them back to a place that feels right.
Remember these key takeaways:
- Subtlety is Key: The most impressive edits are often the ones you don't immediately notice. The goal is enhancement, not artificial alteration.
- Order Matters: A structured workflow (e.g., exposure -> crop -> color -> details) prevents you from having to undo previous work and leads to a more polished final image.
- Every Photo is Different: There is no single "magic formula." An underexposed portrait will need a different approach than a bright, noisy landscape. Use these techniques as a flexible toolkit, not a rigid set of rules.
The True Value of Editing
Learning to edit is about more than just making your photos look "better." It's about gaining full control over your creative vision. It’s the final step in the photographic process, allowing you to imbue your images with a specific feeling, emphasize a certain subject, or simply clean up distracting imperfections. By investing time in these basic photo editing techniques, you are empowering yourself to tell stronger, more compelling visual stories.
Your photos are your memories and your art. Applying these skills ensures they are presented in the best possible light, transforming simple snapshots into images that resonate with viewers and make you proud. Start practicing today, and watch as your confidence grows alongside the quality of your work.
And for those moments when your perfect shot is marred by an unwanted Snapchat caption, a specialized tool can be your first editing step. Before you even begin adjusting colors or sharpening, get a clean slate with SnapCaptionRemover. Visit SnapCaptionRemover to see how easily you can erase text and prepare your images for a professional edit.